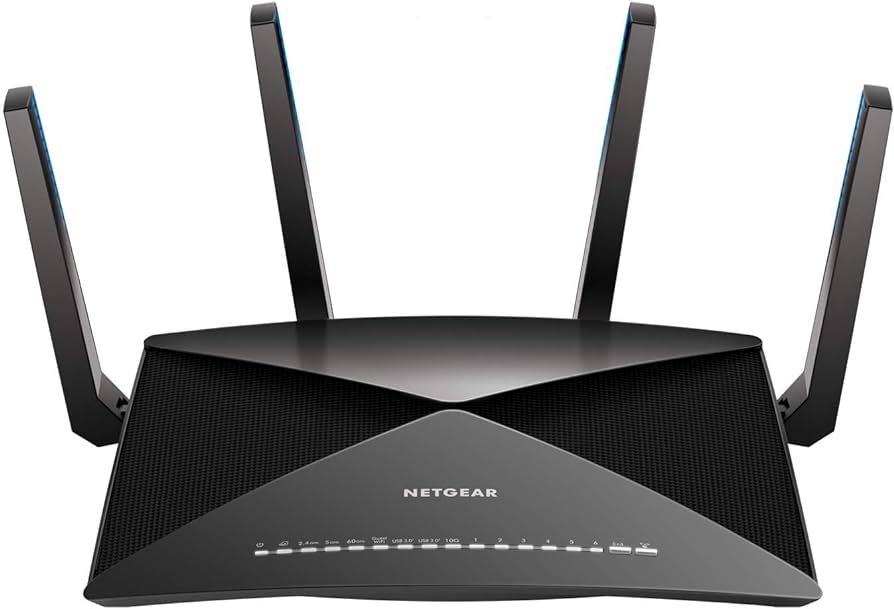
There are many brands that provide users networking devices like router, range extender, boosters and modem. Netgear is one of the famous brands that distribute networking devices worldwide.
The Netgear brand devices are easy to connect with other network device even it is of another brand. But here in this article, we will only discuss about the Netgear extender setup.
The setup article includes how to connect extender with your home router and how to access the interface to adjust its settings.
But, at first you have to apply and follow some of the troubleshooting tips that help you to make the setup process secure. So, let’s start this informative article without wasting any time.
Troubleshooting Tips to Apply Before Starting Setup
Down in this section, you will get to learn troubleshooting tips that help you to set your Netgear WiFi extender in your home without facing any technical issue.
- Don’t use the damaged cable like Ethernet cable in extender connection, if you are connecting your router to extender with cable.
- Choose correct ports to establish the router to range extender connection with the Ethernet cable.
- By reaching in the middle of the range extender, you have to use your computer web browser to access the interface, so the browser must be updated.
- Most importantly, you must choose an optimal location to connect your Netgear range extender to router in your home.
Now, let’s start the Netgear Extender setup right away with the help of the upcoming sections. These sections contain information of hardware connection and adjusting the settings.
How to Connect Netgear Extender to Home Router?
Here in this section you will explore two different subsections; router to extender connection with the Ethernet cable and connection with the help of the WPS button.
Via Ethernet Cable
- Place the extender close to the router, which should be on optimal location.
- Connect the cable to the router’s LAN port and range extender’s WAN port.
- Now, start the extender by plugging it in the wall socket and pressing power button.
Via WPS Button
- You can also connect the router to the extender without using any wire or cable.
- To do that, you just have to start the range extender and press the WPS button on router.
- Then, hit the WPS button given on the Netgear extender. The router and extender will connect to each other automatically.
Now, it is time to access the Netgear extender login interface and adjust the settings with the help of your computer.
How to Access Interface to Adjust Extender Settings?
Accessing the interface of the Netgear range extender is very easy process, let’s see how you can configure the Extender’s settings using your computer.
- At first, you have to connect your computer or laptop to the extender via LAN cable.
- Then, go in to the web browser and search the mywifiext.net in it to reach the login interface page.
- On the interface login page, you have to type in the login credentials like username and password.
- The user manual of the Netgear range extender will contains the credential information.
- Just enter in to the interface dashboard and adjust the settings of the extender.
After managing the settings and networks, you can use the Netgear_ext SSID username and password to connect your phone wirelessly to the extender.
Final Conclusion
Here, you have learned how to connect your home router to the new Netgear range extender. Then, we have added one more section that explains how to log in to the Netgear interface with the help of your computer to adjust its settings and networks.


